

We just wrapped up the first quarter of the 2020 school year and every grade level is transitioning from teaching fiction reading skills to nonfiction reading skills. So, I figured this would be the perfect time for me to update a product that I created a while ago and share what’s included with all of you!
In my county, we adopted the Lucy Calkins/Teacher’s College Units of Study a few years ago. I went to an amazing training once a month for an entire year to learn how to break the lessons down into sections and extract the most important parts in order to make sure that I addressed the standards in our countywide curriculum maps.
Once I started using this resource in the classroom, I LOVED it – I think these units do such a great job of explicitly teaching standards through authentic reading experiences and I love having a plan for a whole unit instead of having to plan one week at a time and pull from numerous sources.
That being said, I have worked with a number of teachers who are, understandably, not fans of these units because:
- The lesson are extremely detailed (around 5 pages each)
- There are no graphic organizers or assignments of any kind for students
- There are no resources for small group instruction
- Some of the passages/text excerpts referenced in the manuals are not available online or in the trade pack that comes with the units
I decided to try to create resources to solve all of these problems for my team and myself, and eventually added them to my TPT store to help those of you who might have the same issues with the Units of Study.
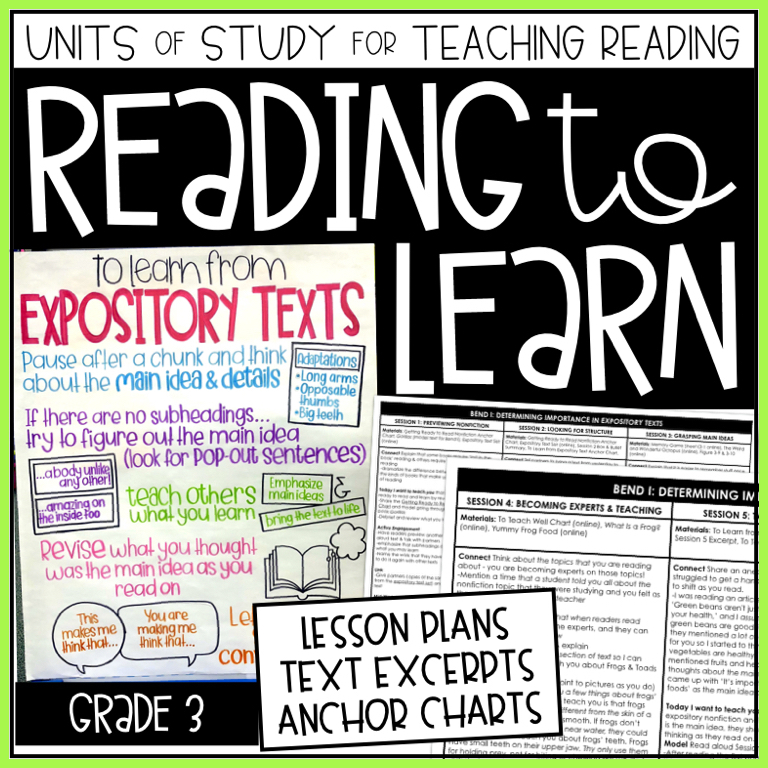
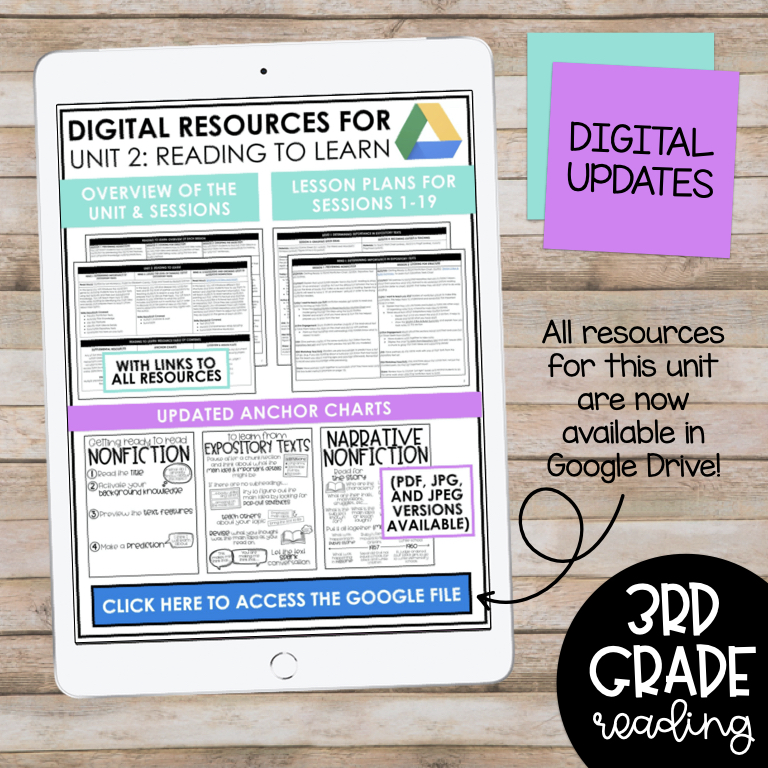
The following resources are included in this unit and you can click on the picture to the left to access them in my TPT store:
- Overview of the Unit
- Overview of the Sessions
- Summarized Lesson Plans
- Projectable/Traceable Anchor Charts
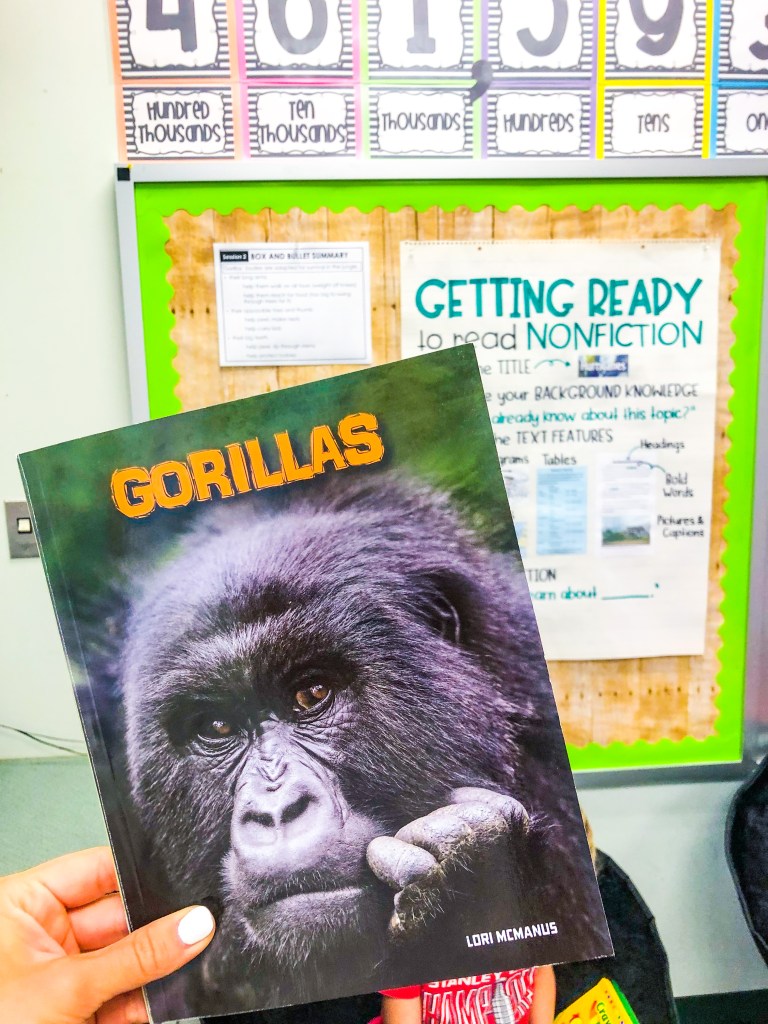
- Passages/Text Excerpts for modeling during instruction
- Graphic Organizers
Keep reading for a closer look into each of these resources!
Overview of the Unit
In this document, I outlined the standards that are taught and the materials that are needed (for both the teacher and the students) in each bend of the unit.
I recently converted this into a Google Doc that has clickable links to all resources. I added PDF and JPG versions of all of the anchor charts and they are all available on Google Drive now, so you can just click and download the version that works best for you!

Overview of the Sessions
In this document, I summarized each lesson as briefly as possible so that I could refer back to it when planning/pacing. This helped me to figure out which standards were being covered each week so I could gather assessments and supplemental materials from other resources.
This is included in the same Google Doc as the Overview of the Unit, so you won’t have to go digging through folders to find everything that you need!

Lesson Plans: I created an abridged version/summary of what is in the book. These include only what I consider the important notes for what to say and do during your minilesson. Sometimes, I cut things out and/or adapt what is in the book if I feel it is necessary to keep the lesson short and focused.
For any resources that say “online” beside them, you will need to register your teacher manual on the Heinemann website. You will be prompted to enter a registration code, which is usually listed on one of the first pages of the teacher manual.

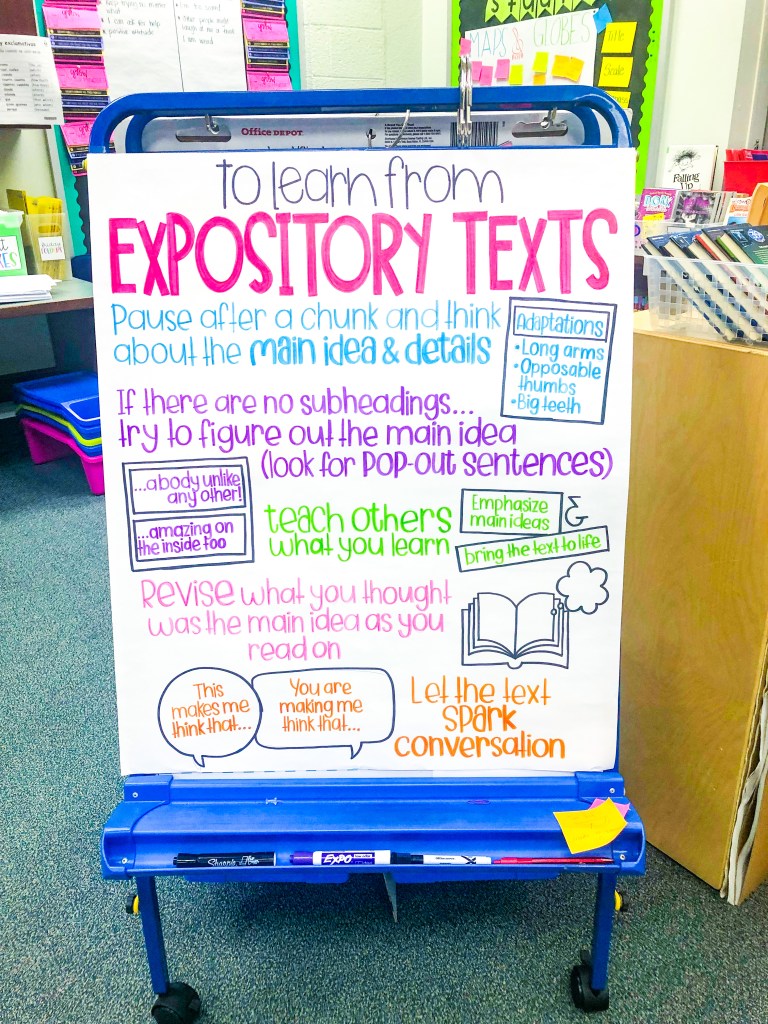
Anchor Charts: I have never been a fan of the plain anchor charts or the sticky notes that come with the units, so I started creating my own. I like to make these pretty and colorful with room for student input during the lesson.
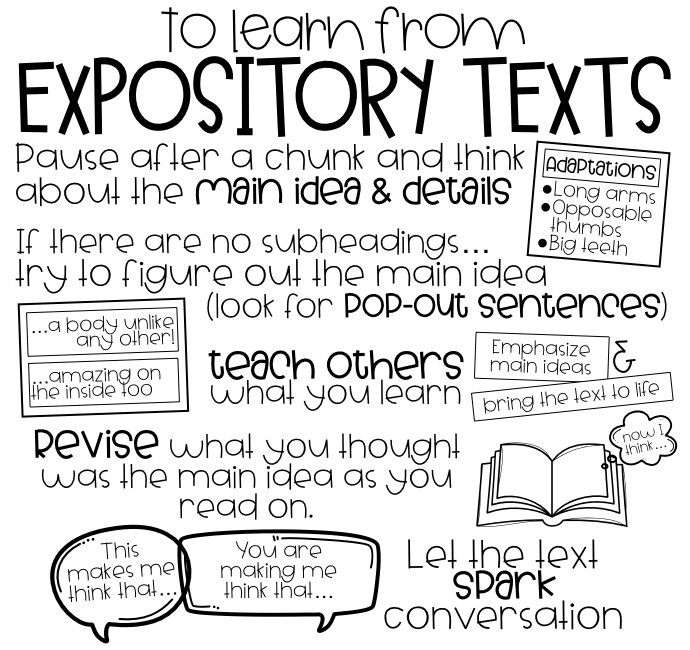
I design my anchor charts on my computer and then project them on a SMARTboard or Apple TV and tape up my anchor chart paper so I can trace on it. Projectable/traceable images that leave space for you to add student input during lessons
Text Excerpts: There are several places in the teacher manuals that include passages that you are told to share with your students that are nowhere to be found on the Heinemann website, so I’ve typed those up on Google Slides and linked them in the plans for individual lessons as needed.
Graphic Organizers: There are not many graphic organizers needed for this unit. A lot of the note-taking that students do needs to be done on notebook paper, because you will teach them to adapt the organization of their notes depending on the organizational/structural pattern of the text that they are reading. There is a graphic organizer for summarizing, using the “Someone…Wanted…But…So….” structure, included in in this unit.
If you are interested in purchasing this unit with the latest updates, you can click here or click on the picture above!
